How to Make Easy Roblox Gfx Using Blender
This article explains How to make a Roblox GFX Scene with Blender. In this tutorial we will create a scene in Blender with our own avatars from Roblox or any custom avatar from the platform. It is important to highlight that some basic Blender knowledge is required. In case you need, you can also check out our other Blender tutorials. Hopefully, with some patience and practice anyone is able to follow these easy steps and create their very own Roblox scenes. Let's get to work!
Download Roblox Studio
Before anything else, we will download the Roblox Studio app for desktop. Once installed, we will sign in with the same account we use in the gaming platform.
The app is relatively intuitive and what we came for is also at hand. To start, we will create a baseplate project.
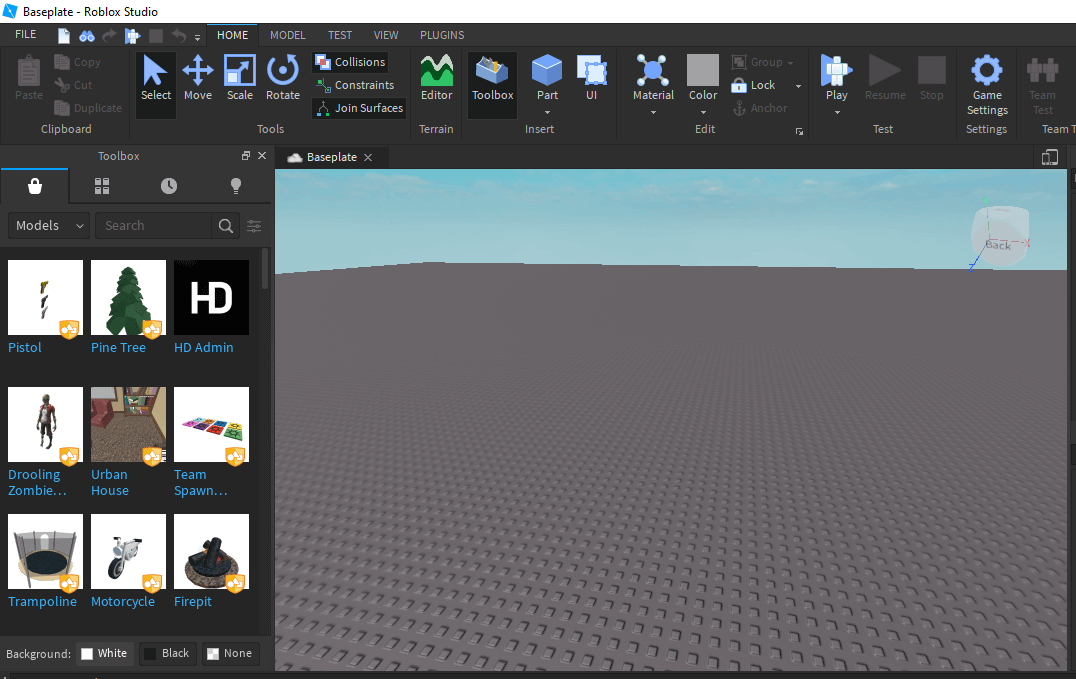
The workspace looks familiar: Toolbar at the top, viewport, content explorer on the left side and scene explorer on the right side.
Plugin: Load Your Character for Roblox Studio
Now we need our character! (basically) We will go to the toolbox located to the left and inside the marketplace tab, we will type "Load Character". This plugin will help us locate our avatar from the game, bring it to our project and later export it to Blender as an .obj file.
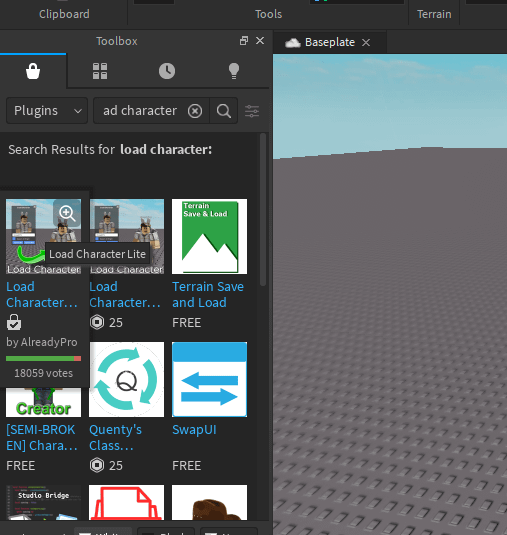
Once installed it should appear in the Plugin tab as seen in the picture.
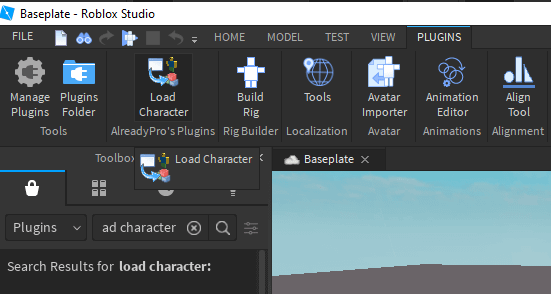
Let's click, now we can type the name of our character and bring it to our project.
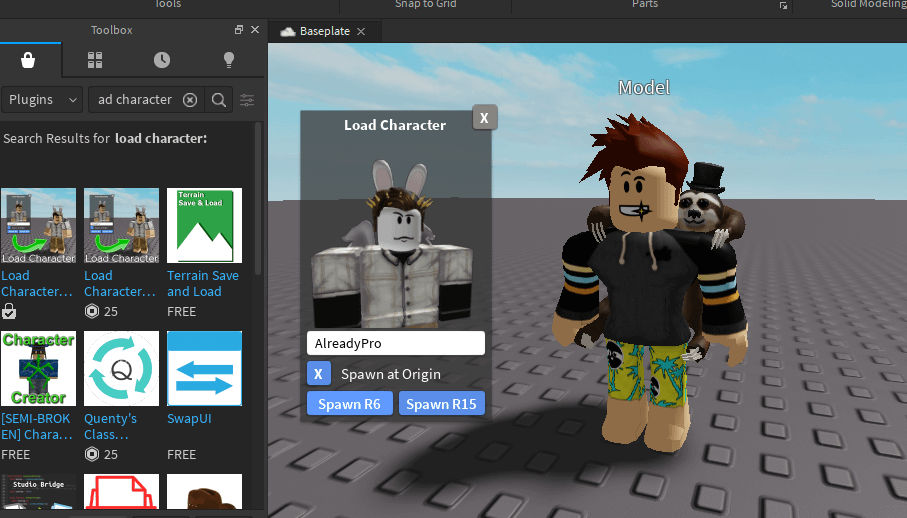
- Check Spawn at Origin and Spawn R6
The difference between R6 and R15 relies on the amount of joints (R15 avatars can bend). In this case, we will import the rig from a different source. What we need from here are only the texture packs, so R6 will do the job.
Once our character is loaded, we will go to the explorer panel and look for all head accessories. Select all of them with the hat sign.
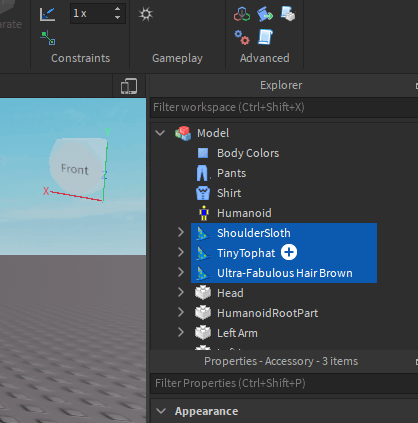
Right Click > Export Selection…
Create a separate folder and save the .obj file.
Roblox Rigs
There are many ways to get our Roblox characters to work inside Blender. There are also plugins inside Roblox Studio that really come in handy. However, I highly recommend visiting Matt RBX Youtube Channel. The owner made available default rigs for each avatar shape. You can download them for free in the description of his videos.
Man Rig, Boy Rig, Woman Rig and Blocky Rig.
I will download and use the Boy Rig which is the one that fits my avatar. As you can see from the files downloaded he made available default blender files and faceless rigs. Cool!
Import Your Roblox Character to Blender
Now comes the fun part! We will unzip first and then open the Blender rig file with the model, in my case the faceless Boy Rig (Type A).
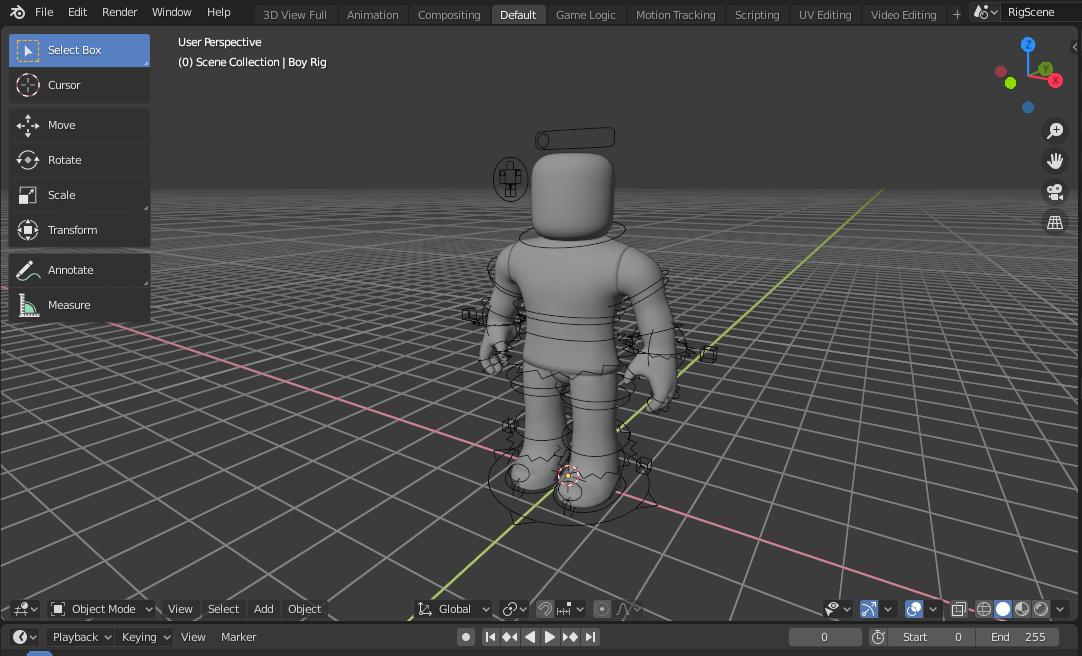
Now we will import our accessories from Roblox Studio.
- File > Import > Wavefront (.Obj) > Locate Your File and click Import Obj
The object most likely will need some manual re-positioning. Press R + X/Y/Z to Rotate on that specific axis and G + X/Y/Z to Move on that axis as well.
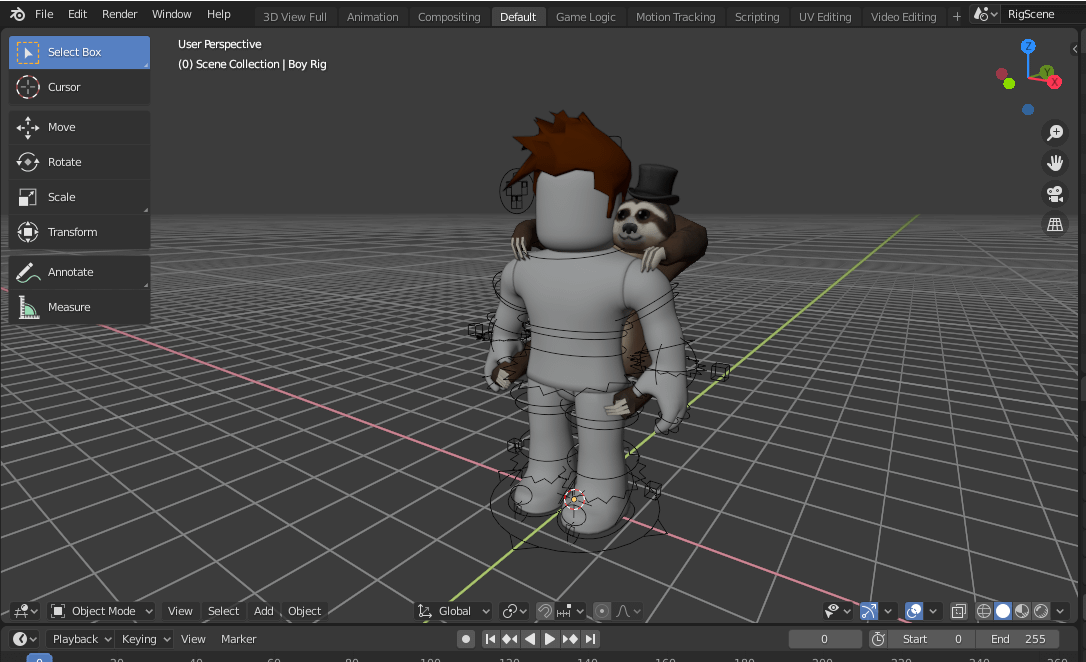
It looks good so far! We now need to link the missing texture maps from the body.
- In Object Mode, select any body part. Go to the Shader Editor and find the Texture Image shader (in orange). Click on the small folder icon to open and search your texture files. It is located together with your accesories files.
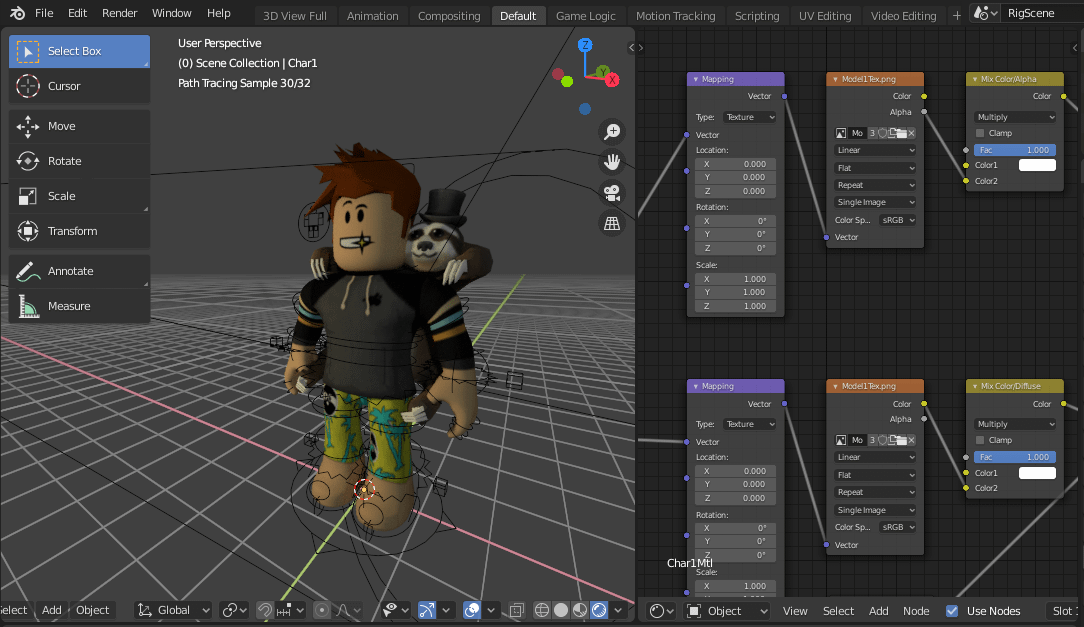
In render mode, it might happen that the models attached to the body look transparent. To solve this, select the object and go once again to the shader editor.
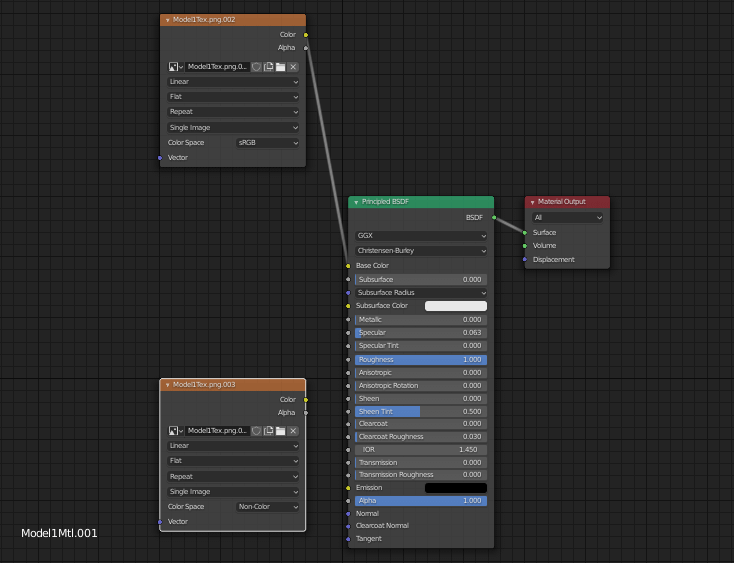
Here simply remove the image texture linked to the alpha channel by pressing delete. That should fix it.
Pose Your Roblox Character
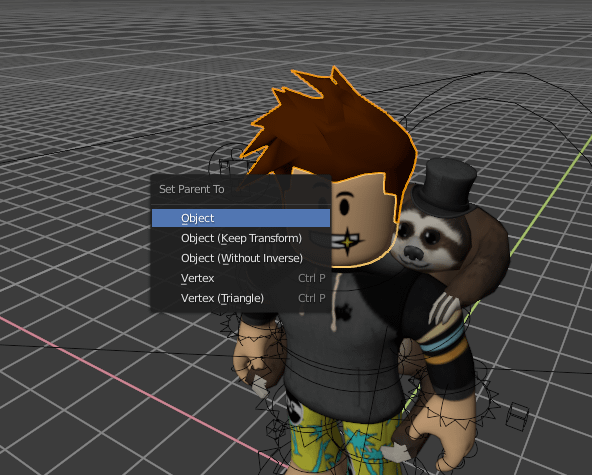
In order to pose our characters, we need to first link our accessories to our body rig in such a manner that they follow the movement. In my case I separated in two different objects the hair from the sloth because they move independently from each other.
If you need it as well: Go into Edit mode > Press A twice to deselect everything > Click on the mesh you want to separate and press L for whole local selection. Press P > Selection. Done!
Now to link objects to the rig body:
In Object Mode:
- Click on the accessory
- Shift + Click on the body part (for the hair click on the head)
- Ctrl + P > Parent To Object.
The parts are now linked and when you move the head, the hair will move too.
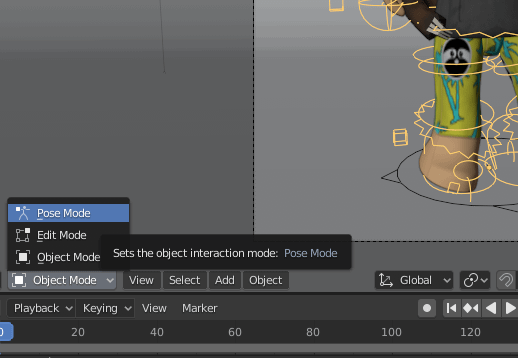
To pose your model select it and go to Pose Mode and use G & R to move and rotate your character.
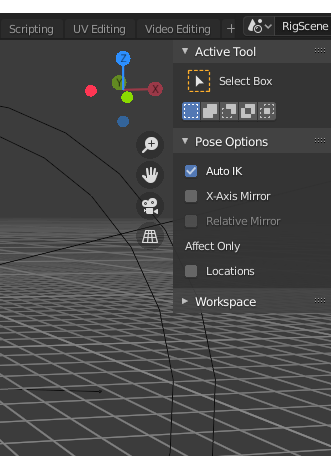
Tip! In Pose Mode, click N to open the tool panel, go to Pose Options and check the option that reads "Auto IK". When this option is checked, every rotation or movement applied to any part of the model will also affect the whole bone structure, creating minor subsequent movements. As a result, the appearance is less rigid.
Roblox GFX Scene with Blender – Final Details
Before you render, make sure that the lighting is correct. You can check our dedicated tutorials on lighting: Iray Lighting Tutorial & Indoor Lighting Tutorial which are made for Daz but offer great insight to apply in any graphics engine. Check Realistic Render Tips for other essential tips.
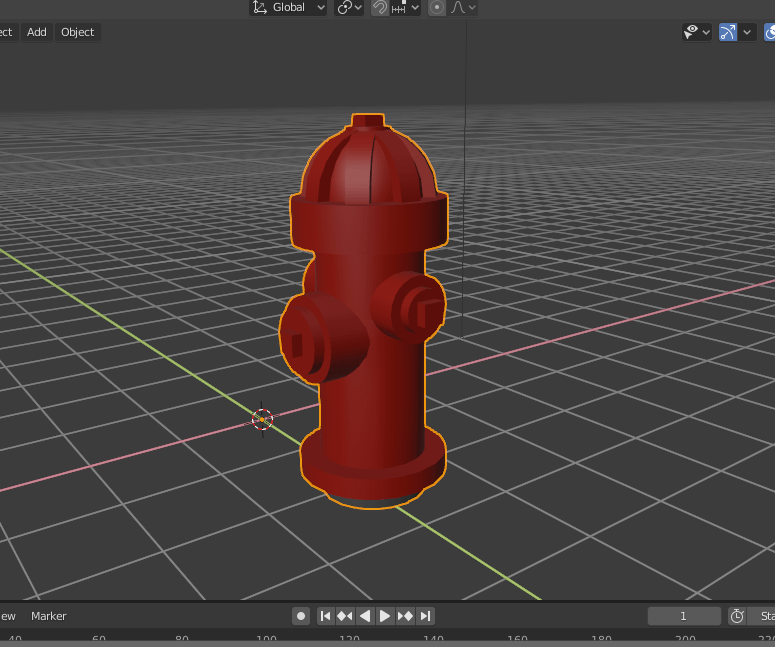
In addition, remember that you can fill your scene with any object from the Roblox Studio app. In such a case, you only need to select the object from the explorer window and export without the need of rigs.
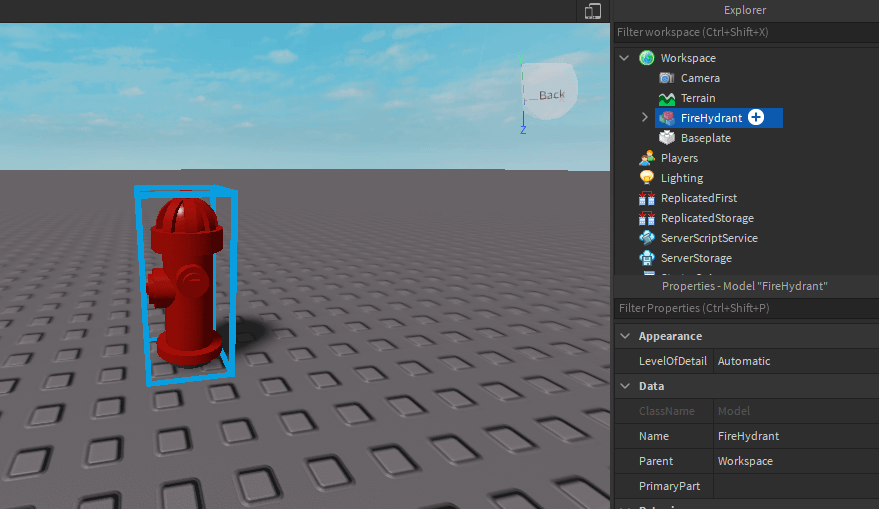
Right Click > Export Selection > Save file.
In Blender > Import > Locate File > Import OBJ.
Conclusion – How to make a Roblox GFX Scene with Blender
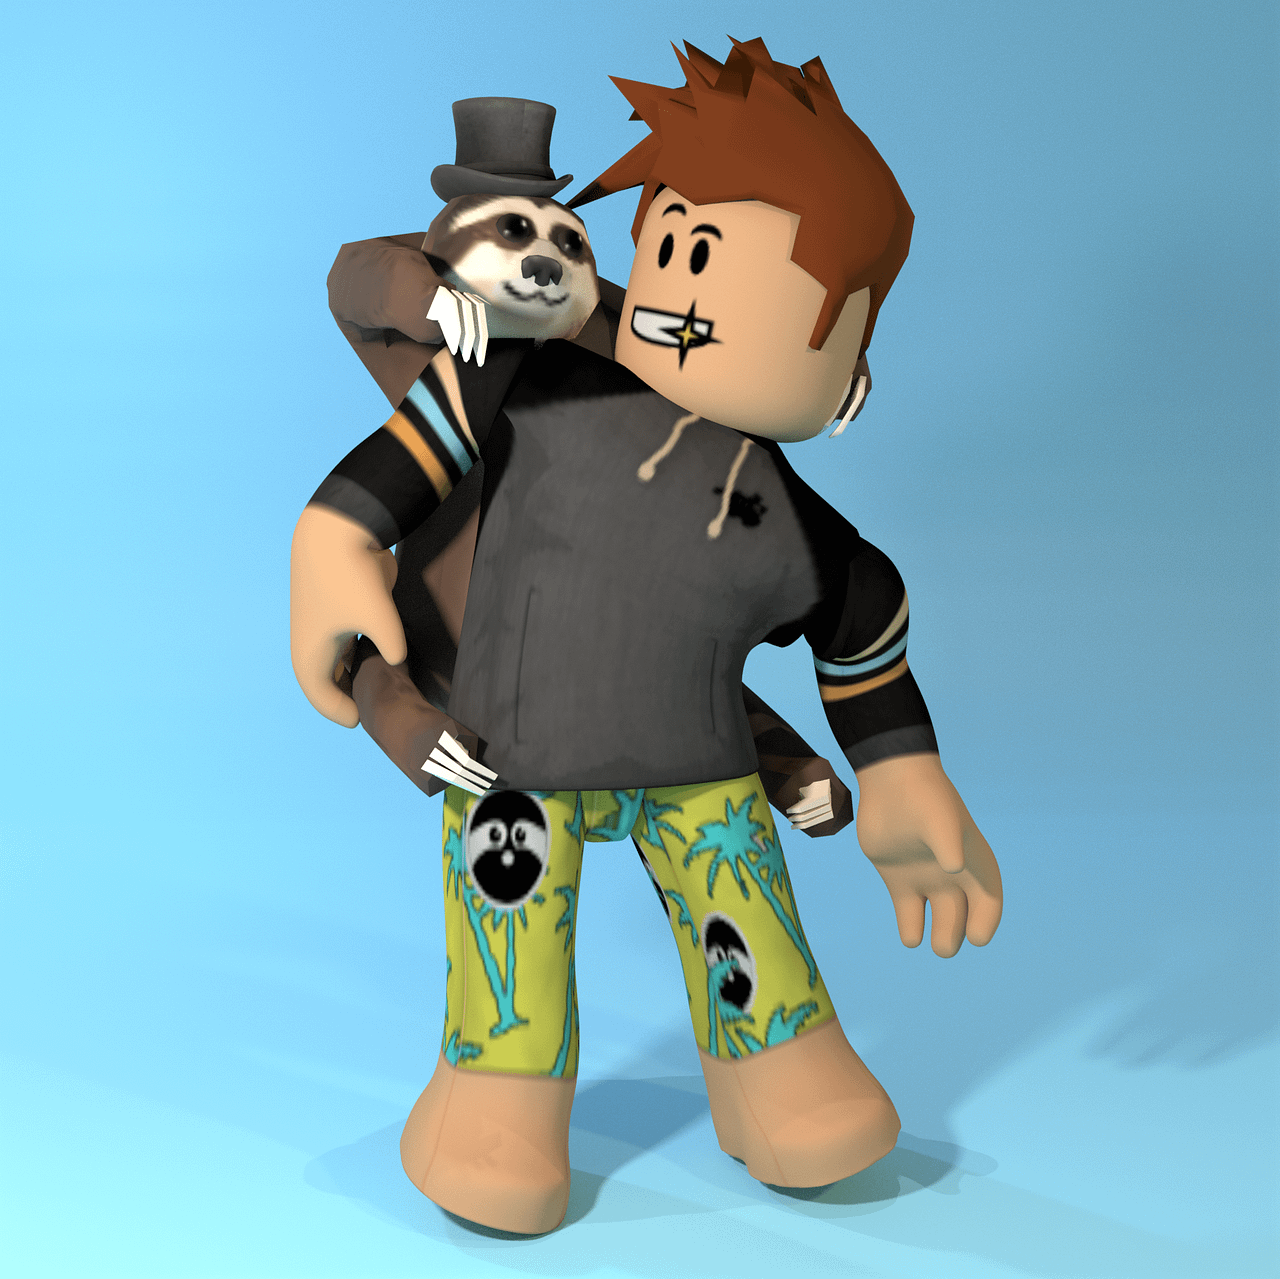
To sum up this Roblox GFX Scene with Blender tutorial, I want to say that you can even use your Daz content such as props and environment to incorporate to your scenes. It's playtime at this point and you are free to take what looks best from each source and platform and make it all work for you. Stay creative and have a look at our other Blender Tutorials!
Source: https://renderguide.com/how-to-make-a-roblox-scene-with-blender/
0 Response to "How to Make Easy Roblox Gfx Using Blender"
Post a Comment